Portable biochemical analyzer use method detailed

release time:2021-11-08 16:41:25

Portable biochemical analyzer, due to the advantages of simple operation, easy to carry, rapid detection and the popularity of medical institutions at all levels. For example, Seamaty's small biochemical instrument configuration includes a microcentrifuge. It is possible to separate the serum (plasma) in the instrument at the same time and then perform qualitative and quantitative tests.

Then how to use this small biochemical instrument? Let's take the Seamaty SD1 dry biochemistry analyzer as an example and see how to use it!

Biochemical testing reagents

The SD1 biochemistry analyzer is used with Seamaty reagents. These reagent trays are individually packaged and individually wrapped, 1 tray for 1 person. And the tray comes with its own diluent, no need to add manually. The lyophilized reagents can be refrigerated at 2~8℃ and are valid for up to 1 year.

How to use the portable biochemistry analyzer

Step 1

After adding approximately 100 ul of sample from the spiked well, place the test disc into the instrument's telescoping bin. The telescoping bin transports the test disc to the working position. The biochemistry instrument lifting device (top bar) then clamps the test disc in place. At the same time it pushes the integrated dilution cup in the test dish upwards and tears a small opening for the liquid to spill out (topping off the water cup).
1

Step 2 (0-140s)

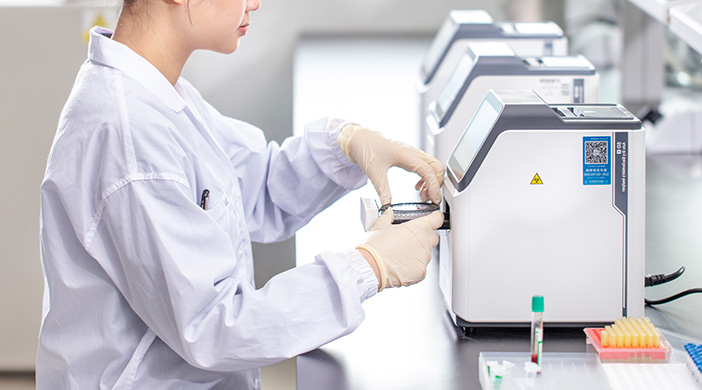
The built-in motor of the biochemical instrument drives the test disc at high speed. Under centrifugal force, the sample and diluent move towards the outer periphery away from the center of the test disc (built-in centrifugation). After a period of high-speed operation, the sample is separated into plasma against the center of the circle, a fixed volume, and blood cells against the periphery by a small centrifugal force (sample centrifugation for quantitative stratification). On the other hand, a certain volume of diluent is retained in the circular cavity. The rest enters the quality control chamber for comparable color assays and the excess diluent collection chamber.

2

Step 3 (140-210s)

Under the alternating action of the siphoning force of the capillary and the centrifugal force, the sample and diluent after fixing the volume enter the mixing chamber. The sample and diluent are mixed by alternate acceleration and deceleration.


3

Step 4 (210-432s)

The diluted sample is distributed into the colorimetric chamber with different biochemical reagent items under the combined action of siphon and centrifugal force.
4 AND 5
Step 5 (432-672s)

The colorimetric reaction starts to occur in each colorimetric chamber. The biochemistry instrument detects the sample concentration of each biochemical item by the colorimetric principle.

The above is the detailed explanation about the use of portable biochemical analyzer.

Prev Return Next

Related Reading

Blood Analyzer Prices, Types and Brands

2022-06-22

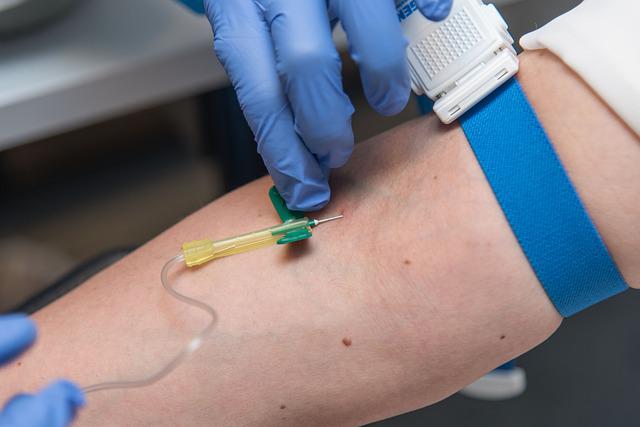
These blood analyzers are very useful in providing quick and accurate information about the blood cell count and its properties. The most common information obtained with the help f these analyzers are

5 Aspects Determine Whether a POCT Device is "simple"

2022-05-17

A simple formula to describe POCT devices is "Point-of-care diagnostic products = fast + accurate + small instruments". most point of care testing devices have undergone a process of gradual simplification and improvement from traditional testing methods to achieve convenient and rapid on-site examination at the patient's side for the purpose of rapid diagnosis.

What Are Biochemistry Blood Tests? Must Vein Blood?

2022-02-23

Blood biochemistry is an important part of clinical biochemistry testing. With the rapid development of science and technology, more and more scientific research results are applied to blood biochemistry tests,