release time:2024-01-12 09:38:41
Blood gas analysis – it's the battlefield where critical care decisions are made, and the Seamaty SG1 Blood Gas & Electrolyte Analyzer is your trusty weapon. Let's delve into the features and simple operation guide that can transform you from a novice to a pro in utilizing this powerful tool.
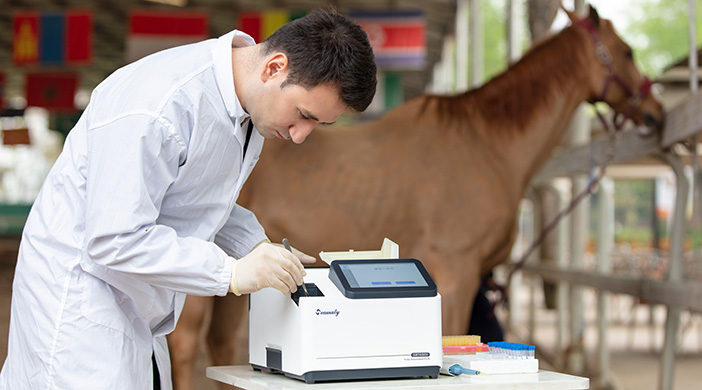
Say goodbye to the constraints of traditional diagnostic equipment. The SG1 is not only lightweight but also equipped with a built-in battery, enabling you to perform diagnoses at the point of care, patient side, out in the field, or even in the exam room.
Time is of the essence in healthcare, and the SG1 delivers. Obtain accurate results in just 4 minutes at the patient's side, facilitating rapid decision-making and optimizing patient care.
Gone are the days of complex testing procedures. The SG1 allows testing to be performed in three simple steps at the patient's side, requiring only 2 or 3 drops of whole blood. The touch screen with a user-friendly interface guides the operator seamlessly through the testing process.
The SG1's single-use test card offers a broad menu of tests on a single, portable platform. Each test card boasts a unique combination of biosensors, catering to a wide range of clinical needs.
Reagent warm-up after removing the cartridge from the refrigerator, let it stand at room temperature for 20 minutes to return to the required temperature.
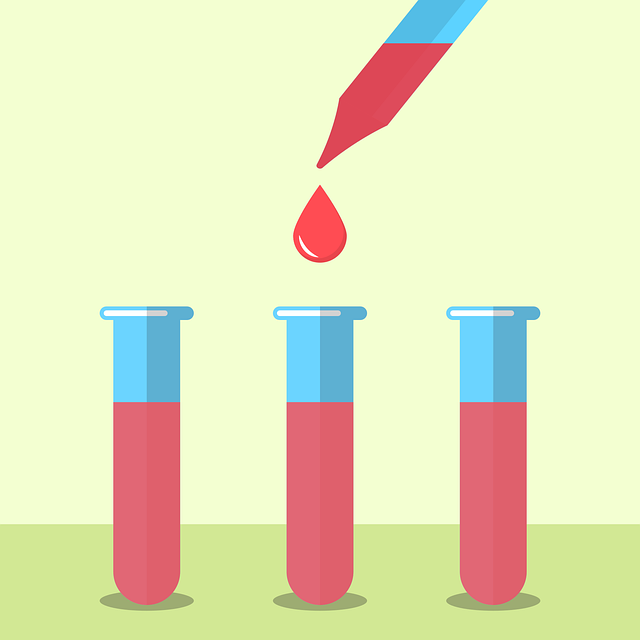
It is recommended to use fresh, airtight, heparin anticoagulant whole blood samples collected immediately.
Utilize a professional arterial blood gas needle for optimal results. In the absence of such needles, calcium titer (balanced) heparin or lithium heparin is recommended as an anticoagulant.

Turn on the instrument, press and hold for 2-3 seconds. The instrument takes about 3 minutes to warm up; please wait patiently.
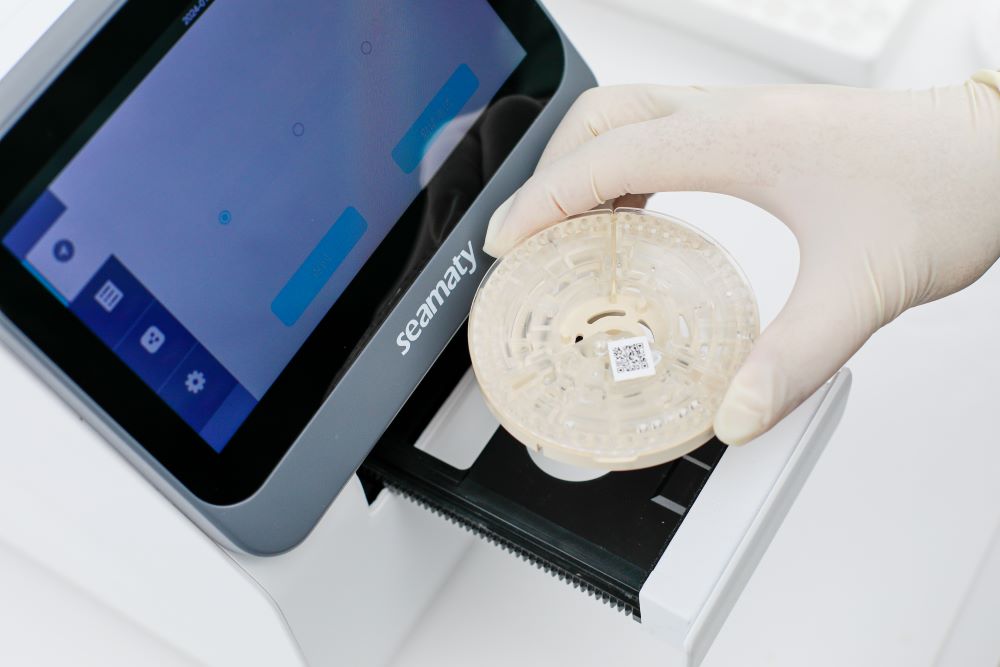
Remove the cartridges after rewarming and lay them flat without tilting or shaking violently.
Using a pipette or syringe, add 100ul of the sample to the sample hole.
Close the sample cover immediately and ensure it is tight.
Click "Prepare" for the test.
Insert the cartridges into the card slot with the text logo facing up.
Click "Start" the test. During the test, tap "Sample Information" to enter patient details.
Wait for 4 minutes, and the results will automatically print when the test is complete.

By following these steps and considering the provided notes, you'll be on your way to mastering the Seamaty SG1 Blood Gas Analyzer. Its portability, speed, and user-friendly design make it an invaluable tool for healthcare professionals looking to elevate their diagnostic capabilities. Embrace the future of diagnostics with Seamaty SG1!
▼Click on the video to view the SG1 operation guide▼
Related further reading
1. What to Consider When Choosing a Blood Gas Analyzer for Your Healthcare Facility
2. Portable Blood Gas Analyzers: Empowering Remote Healthcare and Emergency Medical Services
3. Decoding Blood Gas Analyzers(BGA): Selecting, Applications, and Top 6 Picks
4. Top 8 Blood Gas and Electrolyte Analyzers in 2024: Brands, Features, Prices
5. Handheld Blood Gas Analyzers Comparison: Abbott i-STAT vs. Siemens EPOC vs. Seamaty SG1
6. A Cost-Effective Alternative to the Abbott i-STAT: Seamaty SG1 Blood Gas&Electrolyte Analyzer
7. Seamaty SG1 Blood Gas Analyzer: A Must-Have for Small Clinics
2024-05-15
Discover the future of lab diagnostics with the fully automated microfluidic dry biochemical analyzer. Combining speed, accuracy, and ease of use, this cutting-edge device is ideal for hospitals, labs, and health centers, providing rapid and reliable biochemical testing with minimal maintenance and cost.
2022-05-06
Biochemical tests provide a basic assessment of the body's liver function, kidney function, blood glucose, lipids and electrolytes to help doctors prevent, diagnose and treat disease. A sample from a biochemical test that is haemolysed is likely to affect the test results. How can haemolysis affect the biochemical tests?
2021-08-19
Chemiluminescence immunoassay is an immunoassay instrument that directly labels antigen or antibody with chemiluminescent agent. Chemiluminescent immunoassay analyzer contains two parts, i.e. immuno-reaction system and chemiluminescent analysis system.